FreeX WiFi Thermal Label Printer - How to Print 4x6 Shipping Labels on Windows 11/10/8/7/XP wirelessly?
This guide is ONLY for the FreeX WiFi model, NOT for the newer FreeX WiFiMAX model.
For Windows 11/10/8/7/XP,
Please make sure you've configured the WiFi setting for your FreeX thermal printer from the first step of quick start guide, and then proceed.
1: Download or download here and Install the FreeX Driver (If you haven't yet)
2: Get the Latest IP Address of FreeX
Turn the printer off and on, then the printer will beep. Within a minute a label should print out with the WiFi connection details, the printer is now connected to your WiFi. The information on the label gives you the IP address that will be used shorty

3: Connect the FreeX printer to your Windows wirelessly
- Go to "Printer & Scanners" from the start menu > Settings > Devices > Printers & scanners and press "Add a printer or scanner"

- Let the computer search for a printer and then click "The printer that I want isn't listed"

- Next, mark "Add a printer using a TCP/IP address or hostname," and click "Next"

- In the "Hostname or IP address" you will type the IP address from the printed piece of paper and for "Port name" you will name the printer whatever want for example FreeX Wireless, then click "Next" and the computer will take a few seconds to detect the TCP/IP port. Do not click "Cancel"


- Next, you will need to provide some additional port information. For "Device Type" mark "Standard" and "Generic Network Card," then click "Next," and your computer will then start detecting the driver model. Do not click "Cancel"


- Next, you will install the printer driver. For "Manufacturer" click "FreeX WiFi," and for "Printers" click "FreeX WiFi Thermal Printer," and then click "Next"

- Now select the version of the driver. Here you will select "Use the driver that is currently installed (recommended) and click "Next"

- For "Printer Sharing," select "Share this printer so that others on your network can find and use it," and for "Share name" choose whatever you want for example FreeX - Wireless

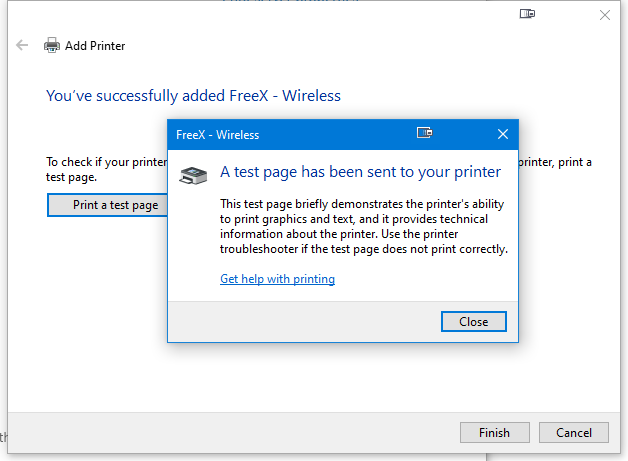
- This is letting you know you added FreeX successfully. Now click "Print a test page" and a page should be printed from FreeX to see that the connection is good. Once that is done click "Finish," and now your wireless connection setup is complete and you are ready to print wirelessly!

What to do if the printer's WiFi disconnects frequently and you have to repeat the printer setup?
The cause of this issue is that other devices are occupying the same IP address from your router. To solve this problem, we suggest manually assigning a fixed IP to your FreeX WiFi printer.
1. Find correct IP address of your router.
Please follow this link to check your router's IP address.
Your goal is to locate the Sub Mask IP address and Gateway IP address of your router like below.

The screenshot above is only for demonstration purpose, your router may have different Subnet Mask and Gateway IP address. Please follow this link to check your router's IP address.
2. Connect your FreeX WiFi printer via USB connection.
3. Open the FreeX WiFi Thermal Printer Tool software
4. Open FreeX Setup and go to the Ethernet tab

4.1 Select IP circle.
4.2 Input the Sub Mask IP address you located in step 1.
4.3 Input the Gateway IP address you located in step 1.
4.4 Manually assign an IP address to your FreeX WiFi printer. (Detailed instructions below)
Please note that
- The first three numbers of the manually assigned IP address should be identical to the first three numbers of the Gateway IP address.
- The fourth number is assigned by your own discretion, the valid range is 1-255. To better avoid the future conflicts from another device, we suggest you pick any number between 210 and 230.
- For example: if your router's Gateway IP address is 192.168.3.1, you may assign your printer IP to 192.168.3.222
4.5 Click Set button to assign it to your router. Wait a minute to get a confirmation label. If you didn't get a confirmation, please assign a different IP address.
4.6 When you add your FreeX printer, use the manually assigned IP.