FreeX WiFi - [BETA TESTING ONLY] How to Print Shipping Label on iOS (iPhone/iPad) wirelessly?
This guide is ONLY for the FreeX WiFi model, NOT for the newer FreeX WiFiMAX model.
For iOS 4x6 shipping label wireless printing
Please make sure you've configured the WiFi setting for your FreeX thermal printer from the first step of quick start guide, and then proceed.
1: Download and Install the free third-party iOS print app "ELabel"

2: Get the Latest IP Address of FreeX Printer
Turn the printer off and on, then the printer will beep. Within a minute a label should print out with the WiFi connection details, the printer is now connected to your WiFi. The information on the label gives you the IP address that will be used shorty

3: Connect the FreeX printer to your iOS wirelessly
Open the ELabel app, click "Bluetooth" or "WiFi"

Click "WIFI" to add a new printer

A new window will pop up, in the "host" and "port", input the IP and Port from the printed piece of paper you got. Click "connect", it will show "Connection successful in the bottom.


Click the "Setting" icon on the top right of home screen

Make sure to set the Command Selection to "TSC", PDF Paper Width Height to "100*150", and Picture Compression Selection to "NO" as below.

It's all set! You can then print labels from PDF or picture formats from instructions below.
4.1: Print Labels from PDF Format
All you need to do is to share the PDF file to the ELabel app.


Then open the app, click "PDF Print" on the top left. Then select the PDF file you want to print.

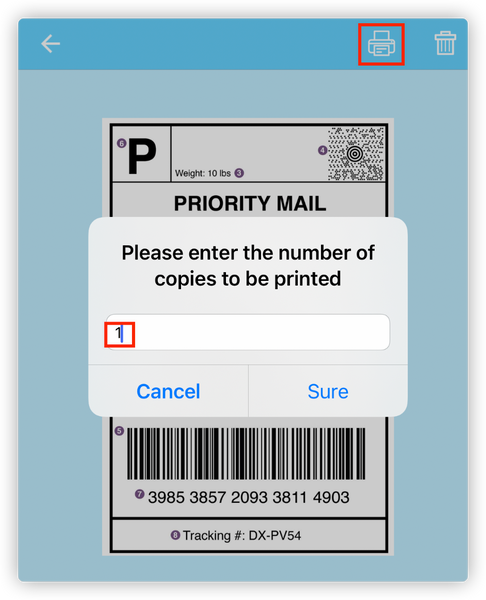
Click on the "Print" icon and wait for 5-15 seconds!

A known app bug that affects a few iOS users: the PDF file may be printed out smaller than the full 4x6 size. (but the shipping label barcode is still scannable)
In case you encounter any unexpected issue, you can always take screenshots of the PDF files and print from picture format as below.
4.2: Print Labels from Picture Format
Click "New Label" from app home screen.

Make sure the "Label Width" and "Label Height" are "100" and "150".

In the next window, click "Pictures" (Or you can explore other features)


